
If you love peanut butter cookies, it’s possible I’m about to become your new best friend…
If love you cookies but can’t or don’t eat peanuts, it’s still possible I’m about to become your new best friend…
Why?
Because these no-bake cookies are super delicious, require just 3 natural ingredients and are a cinch to make! And did I mention they require ZERO baking time?
Though they taste like a peanut butter delight, these cookies are made with sunflower seed butter instead of peanut butter. Sunflower seed butter, made simply with sunflower seeds (preferably organic), tastes like natural creamy peanut butter. But sunflower seed butter has a better nutrition profile, and is safe for those with a peanut allergy.
For example, sunflower seed butter is:
- Loaded with vitamin E, an antioxidant that helps naturally balance cholesterol in the body. It also reduces free radicals to prevent cell damage and slow aging in our bodies. Plus, it strengthens the immune system.
- High in magnesium, which is critical for helping with sleep quality, regularity in the bathroom, muscle relaxation, heart function and keeping your energy up.
- Full of health-supporting unsaturated fat that won’t negatively impact cholesterol or cause inflammation like peanuts can.
Along with those health benefits, the oats in this recipe deliver a hearty dose of fiber, protein and even more vitamins and minerals!
THE RECIPE
NO-BAKE “PEANUT” BUTTER COOKIES
~ Makes About 16 Cookies ~
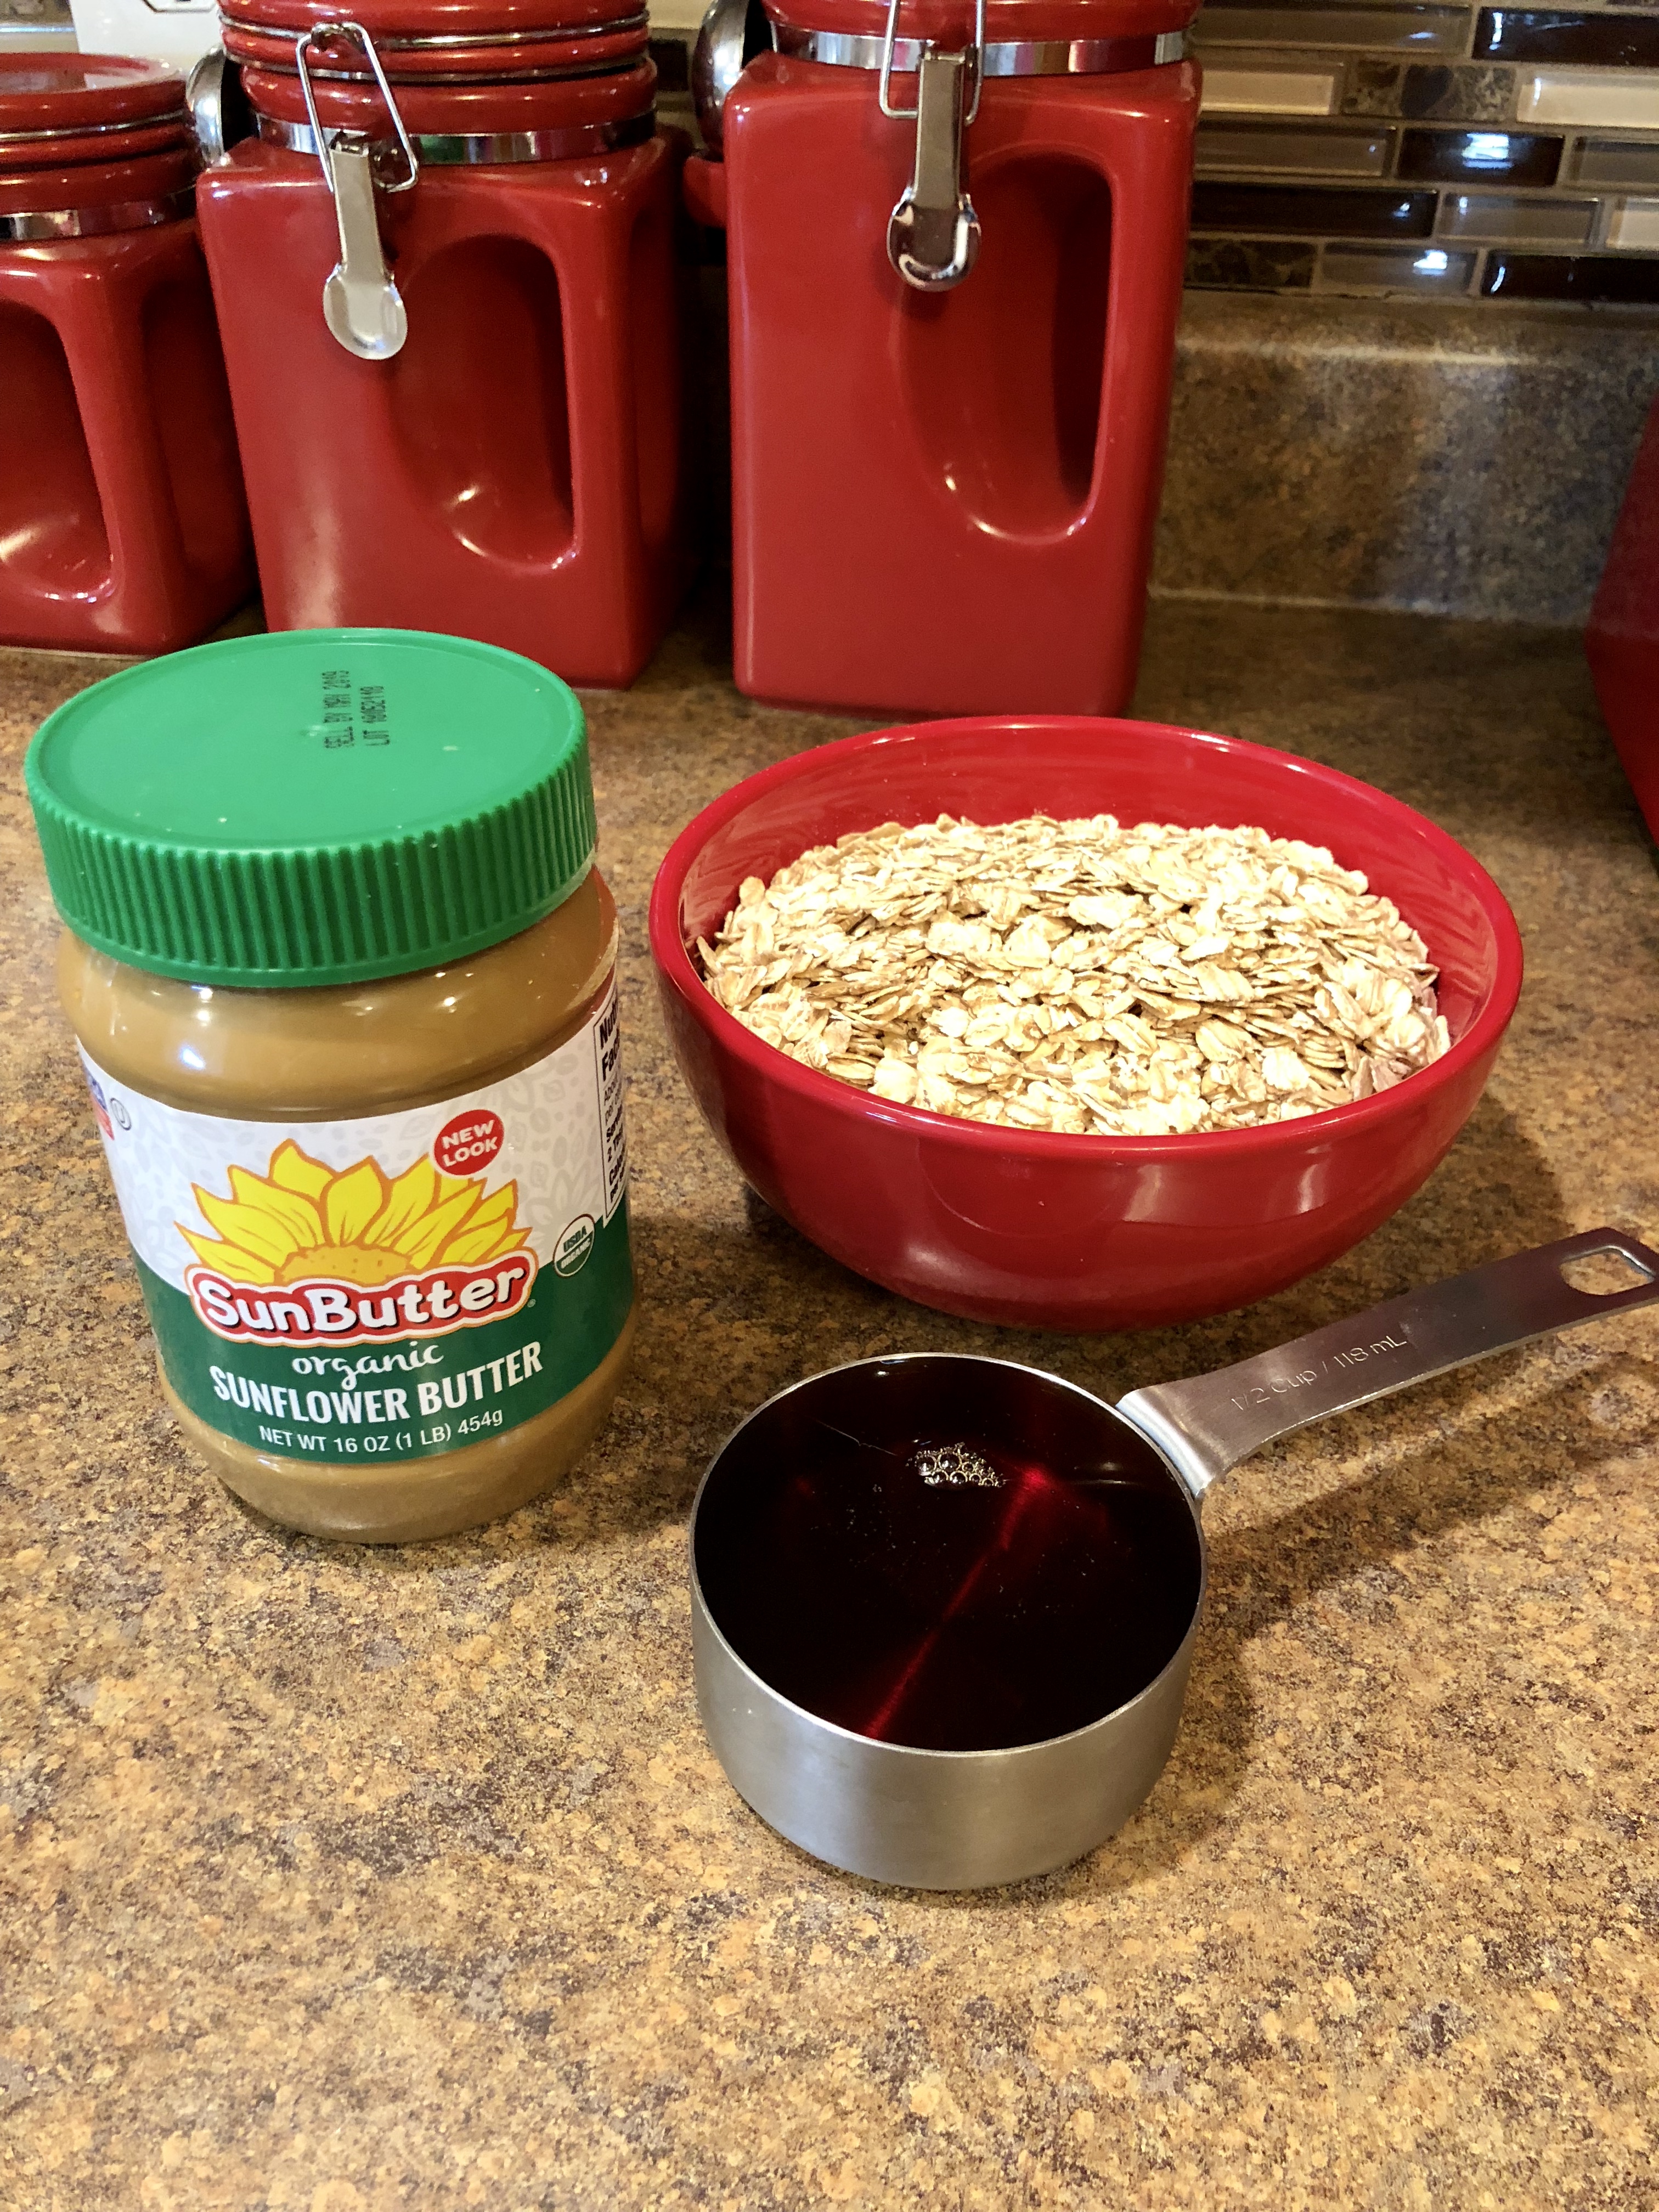
Ingredients:
- 2 cups of old fashioned rolled oats, organic and gluten-free
- 1 cup of sunflower seed butter (I highly recommend the SunButter brand.)
- 1/2 cup of organic pure maple syrup
Preparation:
- Line a large baking sheet with unbleached parchment paper.
- Put the sunflower seed butter and maple syrup into a bowl and mix them together well.
- Add the rolled oats to the bowl and mix until they are fully blended with the sunflower seed butter and maple syrup.
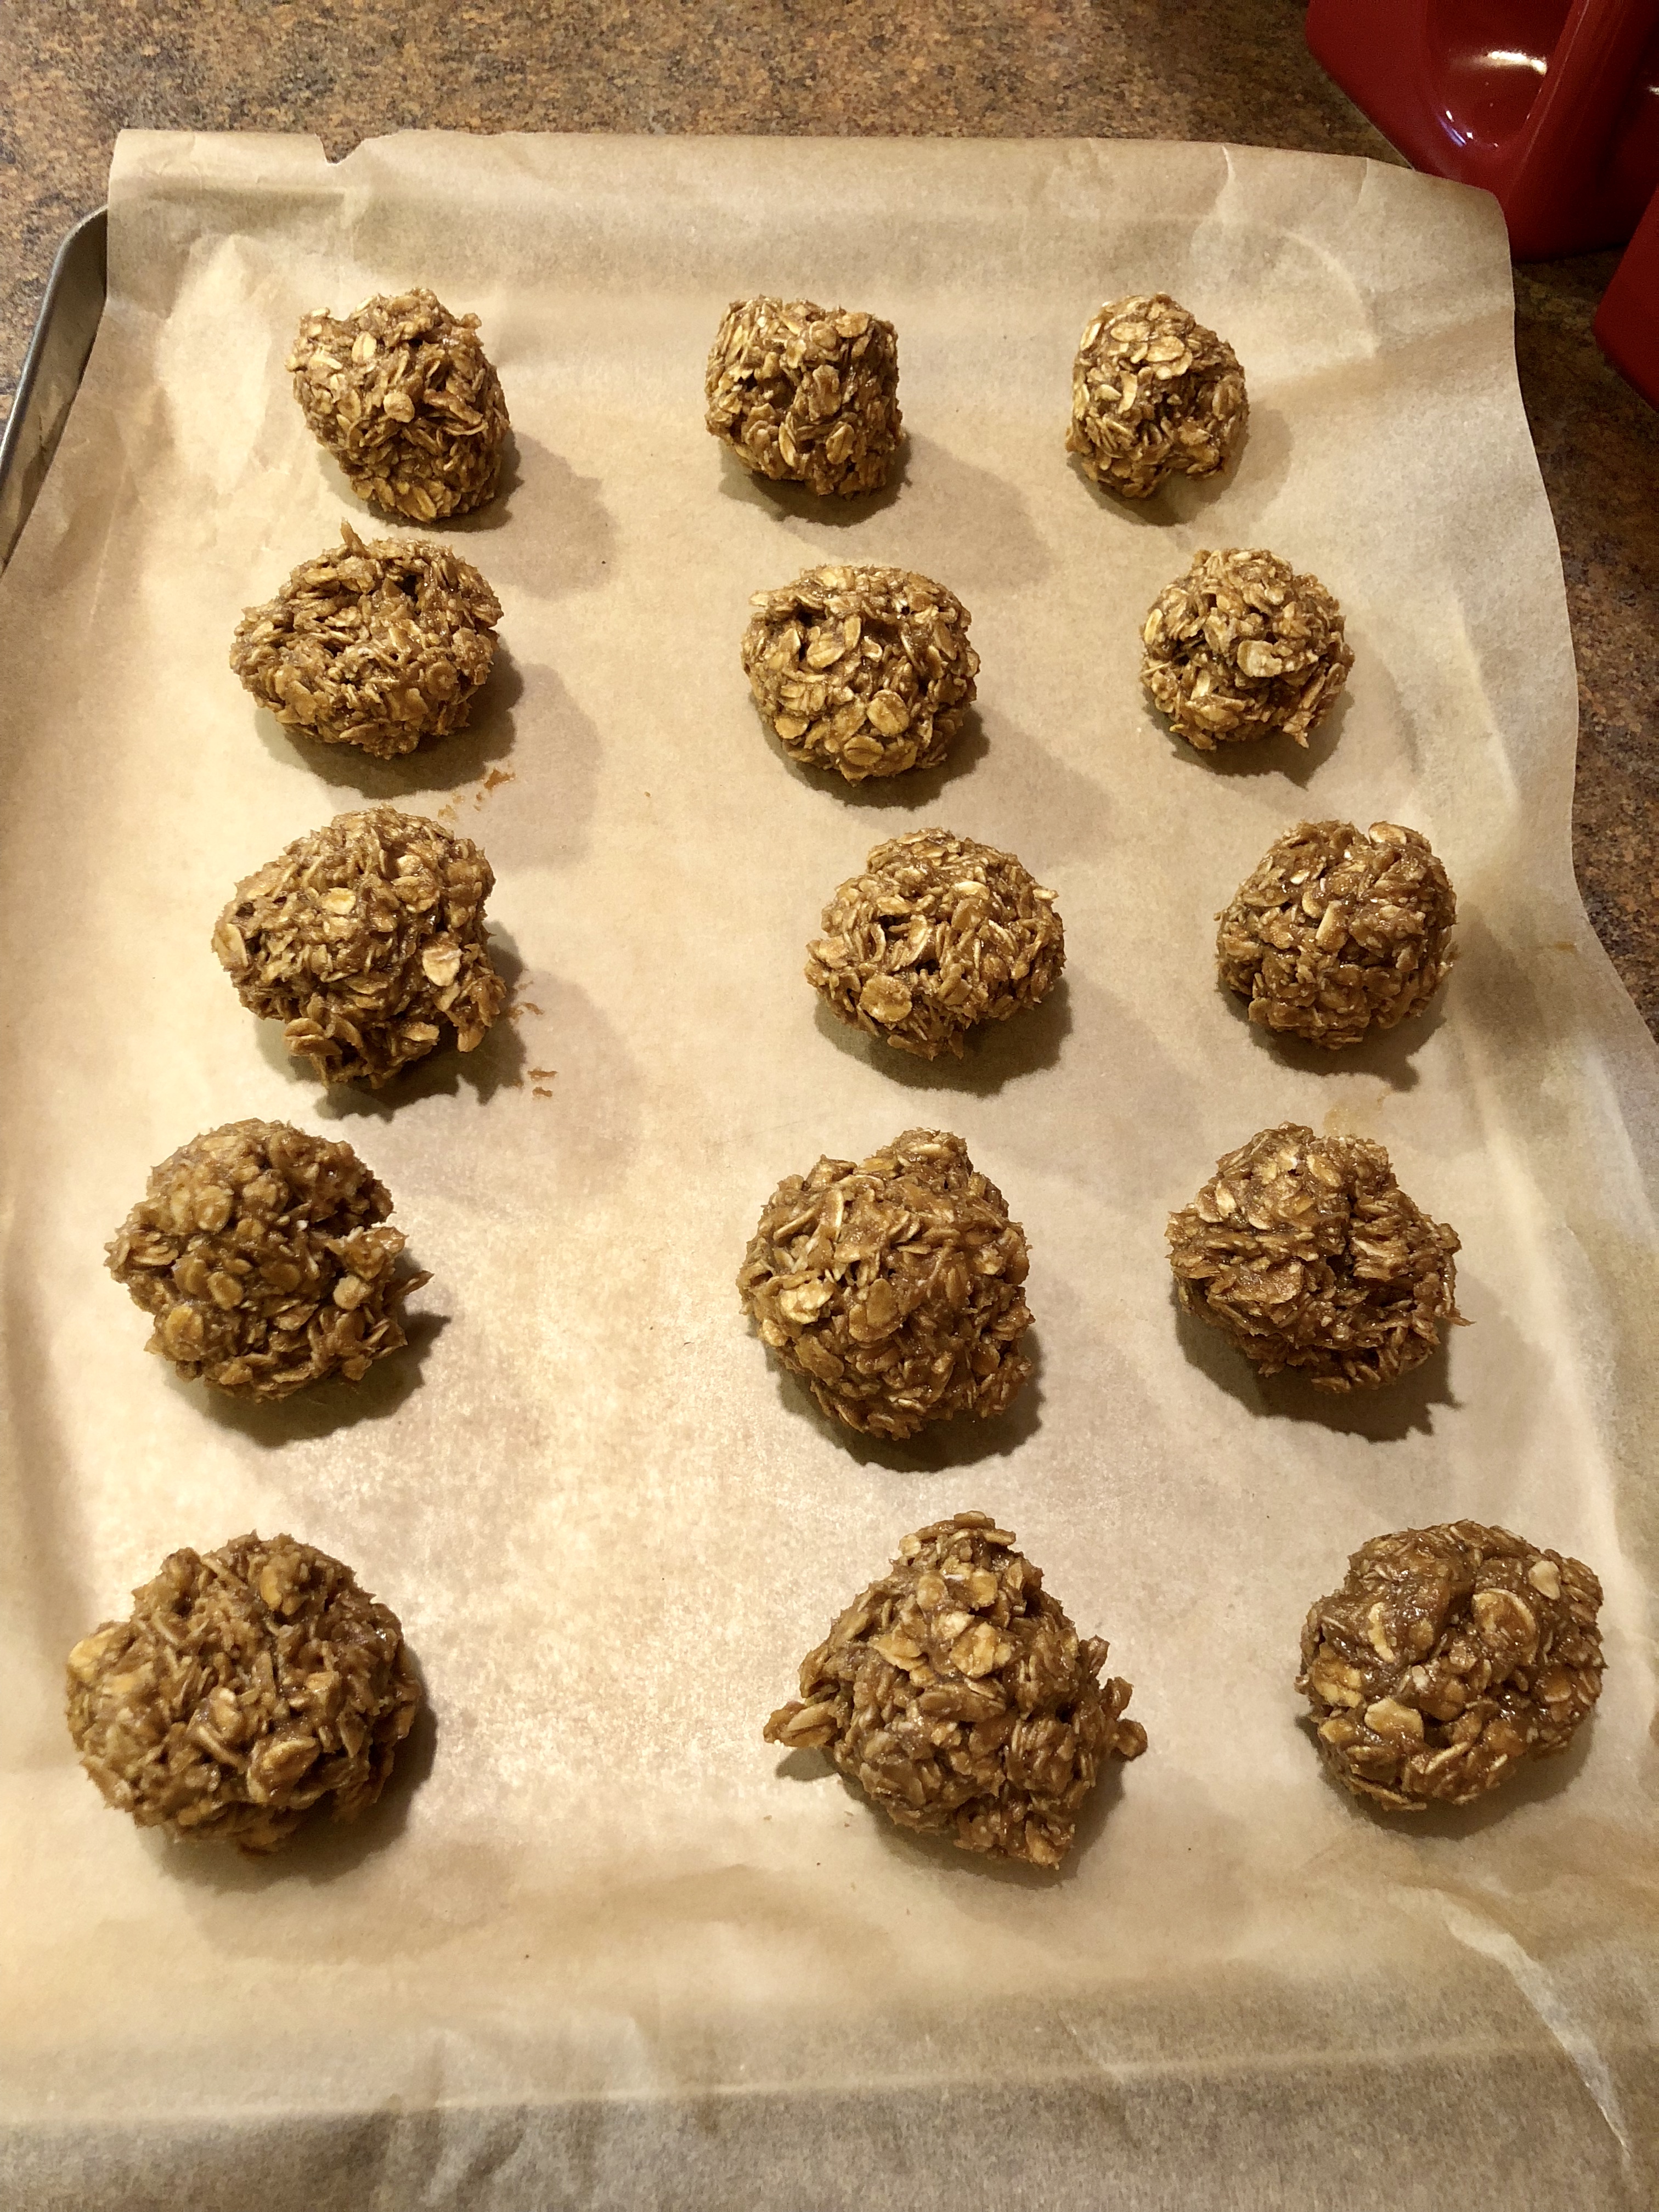
- Using a spoon, scoop about 2 tablespoons of the mixture into your hand, roll it into a ball and place it on the lined baking sheet. Be sure to leave enough space between the balls to flatten them into cookies.
- Dip a fork into water and use it to flatten the balls into cookies (see photos below).
- Place the pan with the cookies in the freezer for at least 30 minutes to set and enjoy! Store any leftovers in an airtight container in the refrigerator or freezer for up to 2 weeks.
Here’s a look at the cookies rolled into balls.
Here’s a look at the cookies ready to go in the freezer:

Once the cookies come out of the freezer, it’s chow time!

Cheers to enjoying simple, clean and delicious cookies with a side of health benefits!
With love and gratitude,
Kandi
DISCLOSURE: Any links above may be affiliate links, which means I earn a small commission – at no additional cost to you – if you purchase a product through them. (Click here to view my full Disclaimer & Disclosure statement.) This helps me continue providing FREE information to help you become a Fit Life Ninja. Thanks for your support!